Broadcasts
What's this?
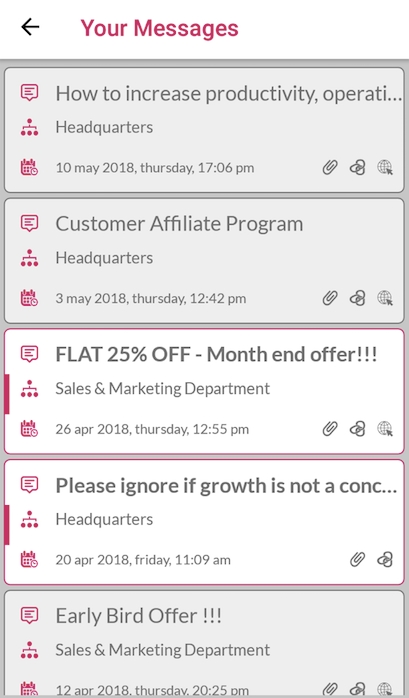
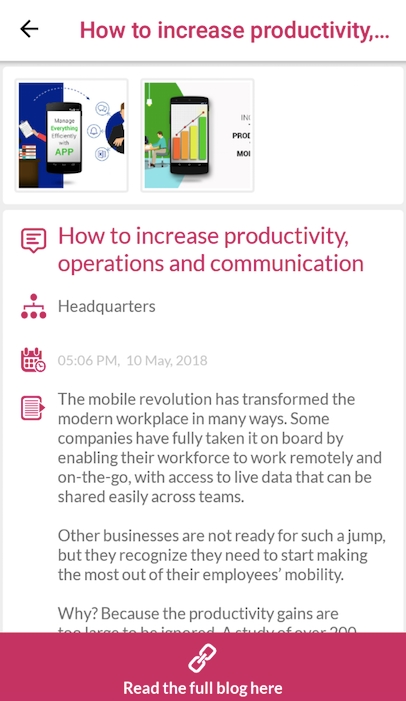
This section is a central messaging station that enables you to send targeted push notifications. A push notification is a message that pops up on a mobile device. You can send them any time. Even if the user is not active or is not using the app, the message will show up on the recipient’s mobile screen. Announcements, promotional offers, payment reminders, new product updates etc can be easily sent through this feature. You get to target specific users and attach all kinds of resources with these notifications. The app users will be able to see the log of all received broadcasts in their app.
When to Use?
Organisations generally use this feature for:
Streamlining Internal Communications
Easy Work Allocation
Improving Customer Engagement
Posting general announcements and reminders
Marketing and Branding, for announcing promotions and product updates
Notifying about changes and additions in app
Sending a Broadcast
Step 1: Go to the Broadcasts section (Left Panel of the CMS) and click on Create New
Step 2: Fill in the following particulars:
Message Content: Type in the title and description for the message. You should input for all languages so that all app users can see in the language that they have chosen. You can input in English and take advantage of automatic translation on clicking outside the input box
Attachment: Multiple attachment options are available:
Documents and Images: pdf/ppt/doc/xls/image files can be attached.
Linking other In-App Elements: You can link app elements from other features present in your account. The app user will see the links along with the sent broadcast and will be directed to the attached resource when clicked. You can link
Any file or folder in the information centre,
Forms
Payment links/categories from the business centre
You will see these options only if these features are present in your account. You can learn more about interlinking app elements here
URL: A url can also be attached to the message body
Step 3: Once you have created your message you can either save it as a draft or send it immediately by clicking on send. There are four sending options available:
Send to everyone: This will send the broadcast to every app user.
Send to Groups: This option can be opted to send the broadcast to a specific groups of app users based on their audience or their selection of an select user field. (it will take an intersection of selections)
Send to specific user: Allows you to narrow down users to whom the message needs to be sent by name/number. You can search and select multiple numbers/names
Send in Bulk: To send to a particular list of mobile numbers (i.e. A bulk set of users whose numbers are added via one line each)
You can read more about targeting sending here
Step 4: Once the message is sent, the targeted audience will receive the push notification. You can view your message history in the ‘Sent’ option under the Broadcast tab.


Drafts
You can always compose a broadcast and save it for sending later by clicking on 'SAVE AS DRAFT'. You can then access the saved draft in the drafts option from left hand menu under the Broadcasts Section.
Sent
The history of sent broadcasts can be accessed from here. All the details of the sent broadcast are shown when it is clicked. Admins and users will be able to see only the broadcasts sent from their department, while the superadmins can see all broadcasts.