
Reporting Section
What's this?
This is the ticketing feature that allows app users to raise service requests, ask queries, register complaints and provide suggestions. CMS users can easily manage all these interactions. In a nutshell - Reporting channel provides your app users a medium to reach out to you and for you to manage and update the requests.
When to use?
Businesses generally use this feature:
To manage service requests
For grievance redressal
To keep app users updated with the status of their complaints
Receive suggestions
Department based query handling
Categories
Categories are headers under which app users can submit their reports.
Each of categories is mapped to a Department and the CMS users belonging to that department are responsible for responding to reports received under the said category.
Only Superadmins can add a new category. To add a new category:
Step 1: Click on Categories under the Reporting Section on the left hand menu
Step 2: Click ‘Add Category’. Enter category name and the department to which it is to be mapped. You can also a single or multiple email IDs for each categories. An email will be sent on these IDs for every submission received.
Step 3: Click on 'Save'. The new category will be created and automatically updated in the app.
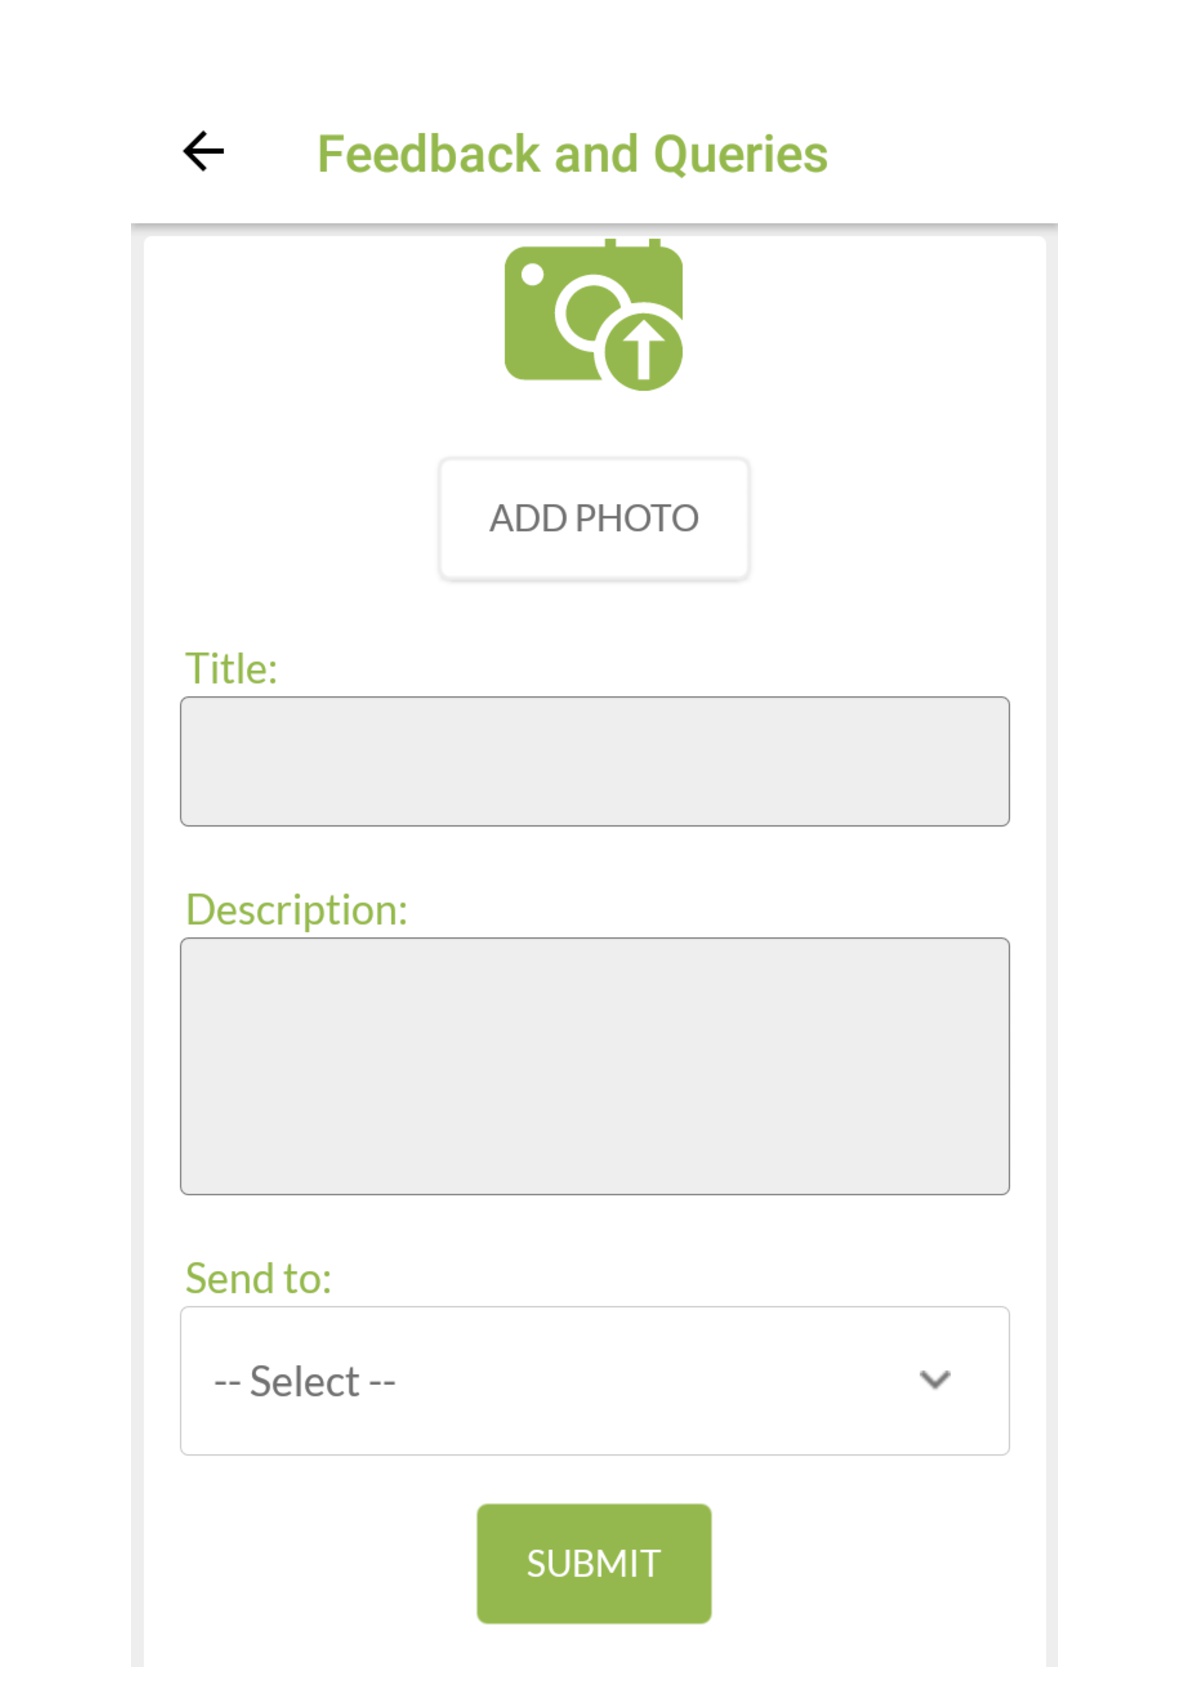
Reports from app
The app users can submit reports from the relevant section in the app. They have the option of adding an image along with a subject and description. They also have to choose a category against which they are making the submission. They are provided with a Reference ID for every submission.
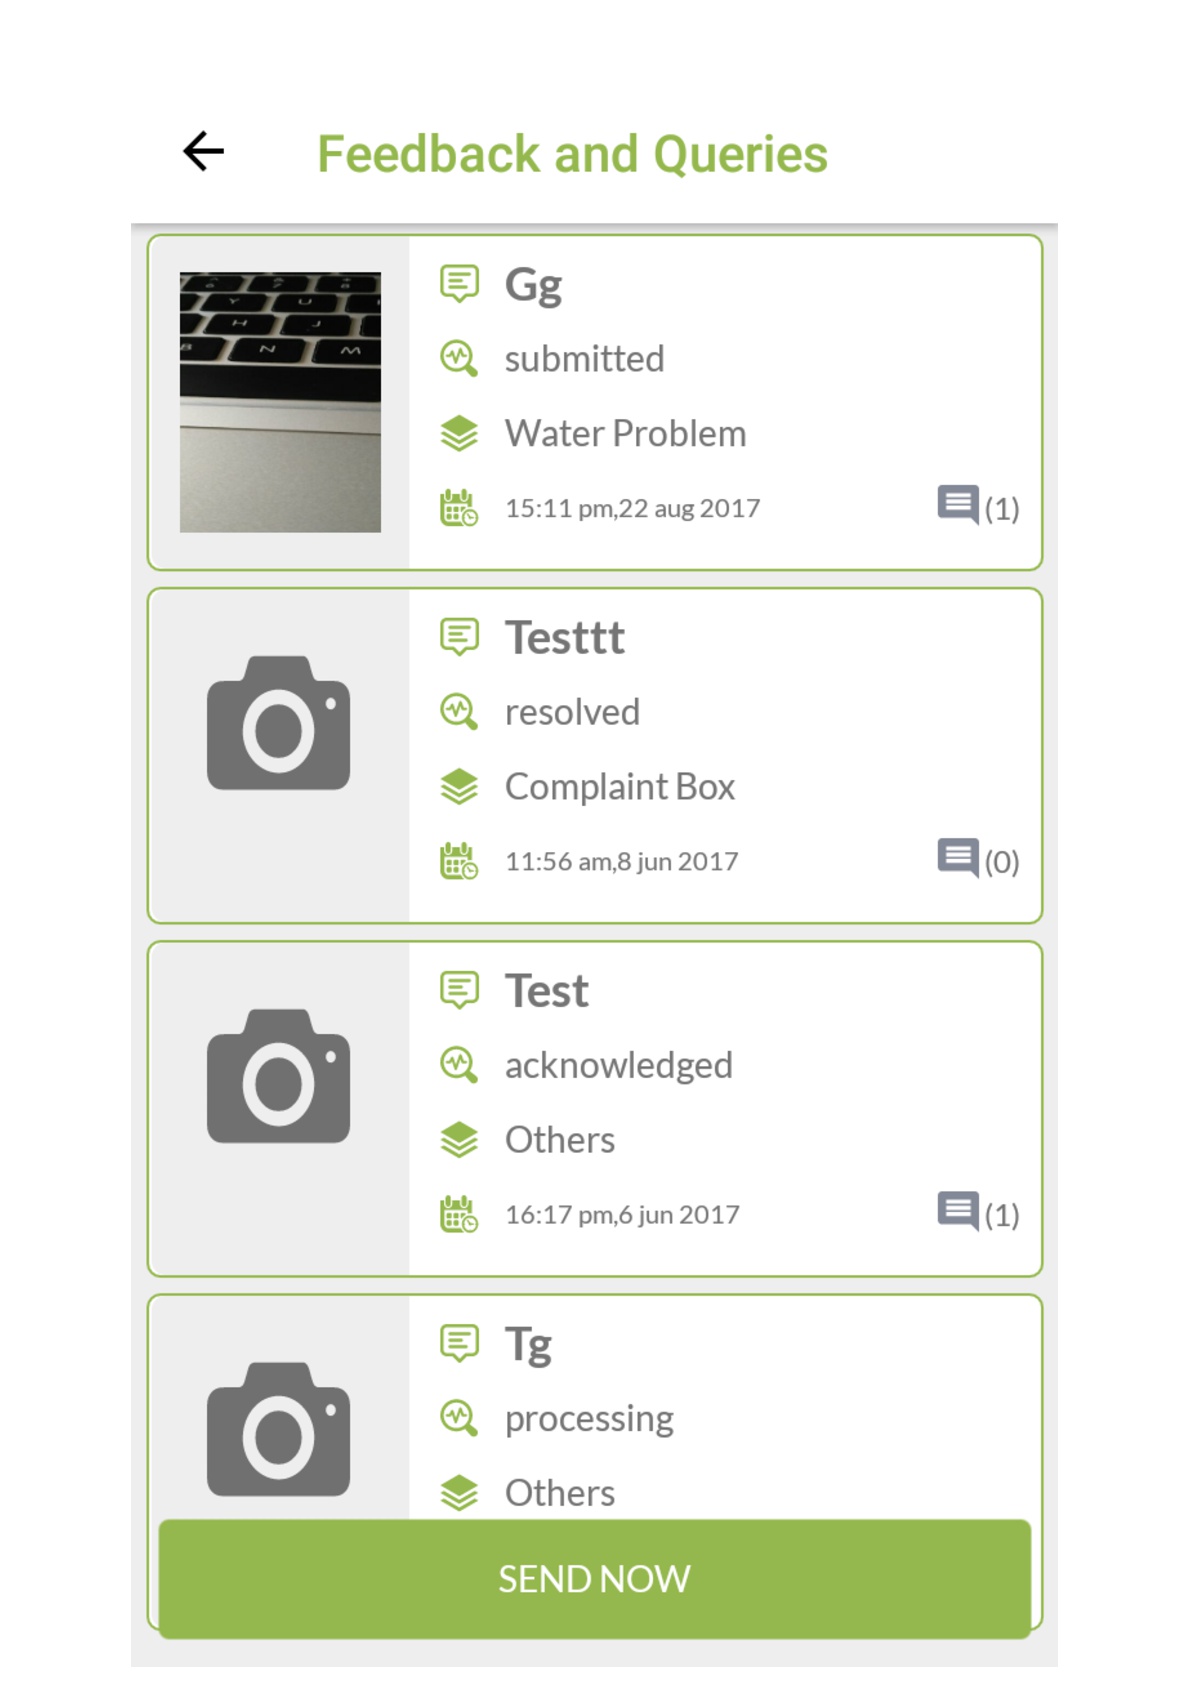
Managing Reports
Once a report is posted by the app user, an email is sent to the IDs related to the concerned category. The CMS users can then manage the reports related to their department. They can view the report, comment on it and keep the app user updated with the status of the same. The infographics at the top of this section provide basic analytics about the reports received, their categories and their current status
The reports can be filtered based on their title/reference number, status, category and on whether they have attachments or not.
There is an option to email all the reports along with the details in either CSV/XLS format
To manage the reports:
Step 1: Select 'Submissions' from under Reporting Section in the left hand menu
Step 2: On the Submissions page you can find a table where all the reports sent by the app users is arranged in accordance to their date of submission..
Step 3: Click on the report that you want to view. A detailed report page will open up. It will consist of:
Date and time of the submission
Reference Number
Details of the app user who has submitted the report
The subject and description
Location of the app user while sending the report
Image attachment, if any.
Step 4: At the bottom of the page there are three options available - To assign a status to the request, to change the category of the report, and to comment on it. Once any of these actions is completed click on ‘Update’. The app user will automatically be intimated through push notification about the changes in status and the addition of new comment.
As a user or an admin, when you try to change the category of any report, then you see the categories belonging to only your department as options. You can change the category of the report if it is submitted under wrong category.
Sometimes an app user might submit a report under the wrong category and the correct category might not belong to your department. In this case, only the superadmin will be able to change the category to a category belonging to a different department. For this you can select the 'Notify SuperAdmin' option present. A mail will be sent to the superadmins who can then change the category to the right option.
At the top right of the detailed report page you can find a print icon to get a pdf of the report details