
Information Center
What's this?
This feature allows you to set-up an information library which can be accessed by the app users. It acts as a knowledge base wherein you can put any data that needs to be shared with the app users. The information is systematically arranged in folders which contain pages. These can be added, deleted or modified at any point of time. All the folders and pages have two possible states: Offline and Live. As the name suggests, offline resources won't be visible to app users.
When to use?
Organisations generally use this feature to
give information about themselves
upload brochures and process instructions
showcase product catalogues
provide training modules
create contact directories
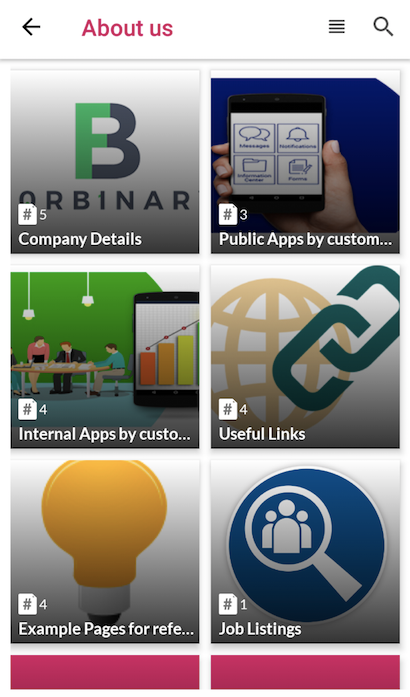
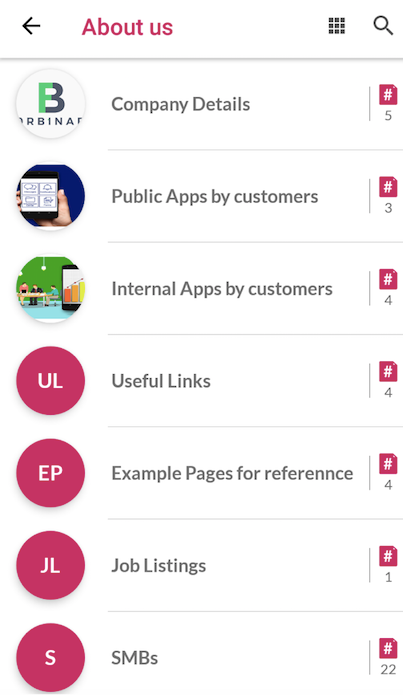
Folders
All the information is organised in folders.
In the list of folders, you have the following options
Page details: The number and type of pages added under the folder
Edit: To change the name/department or access controls of the folder
Toggle to change the status
Delete: To delete the folder. This will delete all the contents of the folder
You can also search for folder names and set their order. To set the order, you will have to drag and drop them to the position you want them to appear in the app
To create a new folder:
Step 1: Go to Information Centre (Left Panel of the CMS) and click on ‘Create New Folder’
Step 2:
Enter the Name of the Folder
Upload the Cover Image - this is visible on the app in the list of folders. This should ideally indicate what the contents are inside the folder
Choose the Department that is creating the folder. (only the CMS Admins and Users belonging to the chosen department will be able to see this folder)
Choose whether you want to set the visibility of this folder.
If chosen no, then the folder will be visible to everyone but you can set the visibility of pages inside separately. If yes, the visibility of folder will apply to all pages inside automatically. You won't be able to change the visibility of contents inside the folder as it will be the same as the folder. You can learn more about setting visibility of resources here
Step 3: Click on ‘Create’. The folder will be created. You will then be asked if you want to make the folder live. You can choose to keep the folder offline or make it live. If you choose to make it live, you will then have an option to send the app users who can see this folder a notification about the status change of the folder. You can choose to send the notification or not as per your convenience.
Pages
There are 4 different kinds of pages that you can add to any of the existing folders. The different kinds are used to show different kind of information. The list of the pages has the following options:
Online/Offline Toggle: You can make a page live on the app or keep it offline with this toggle
Edit: To edit the page content and other particulars
Delete: To delete a page.
You can also search for page names and set their order. To set the order, you will have to drag and drop them to the position you want them to appear in the app
The different kinds of pages are:
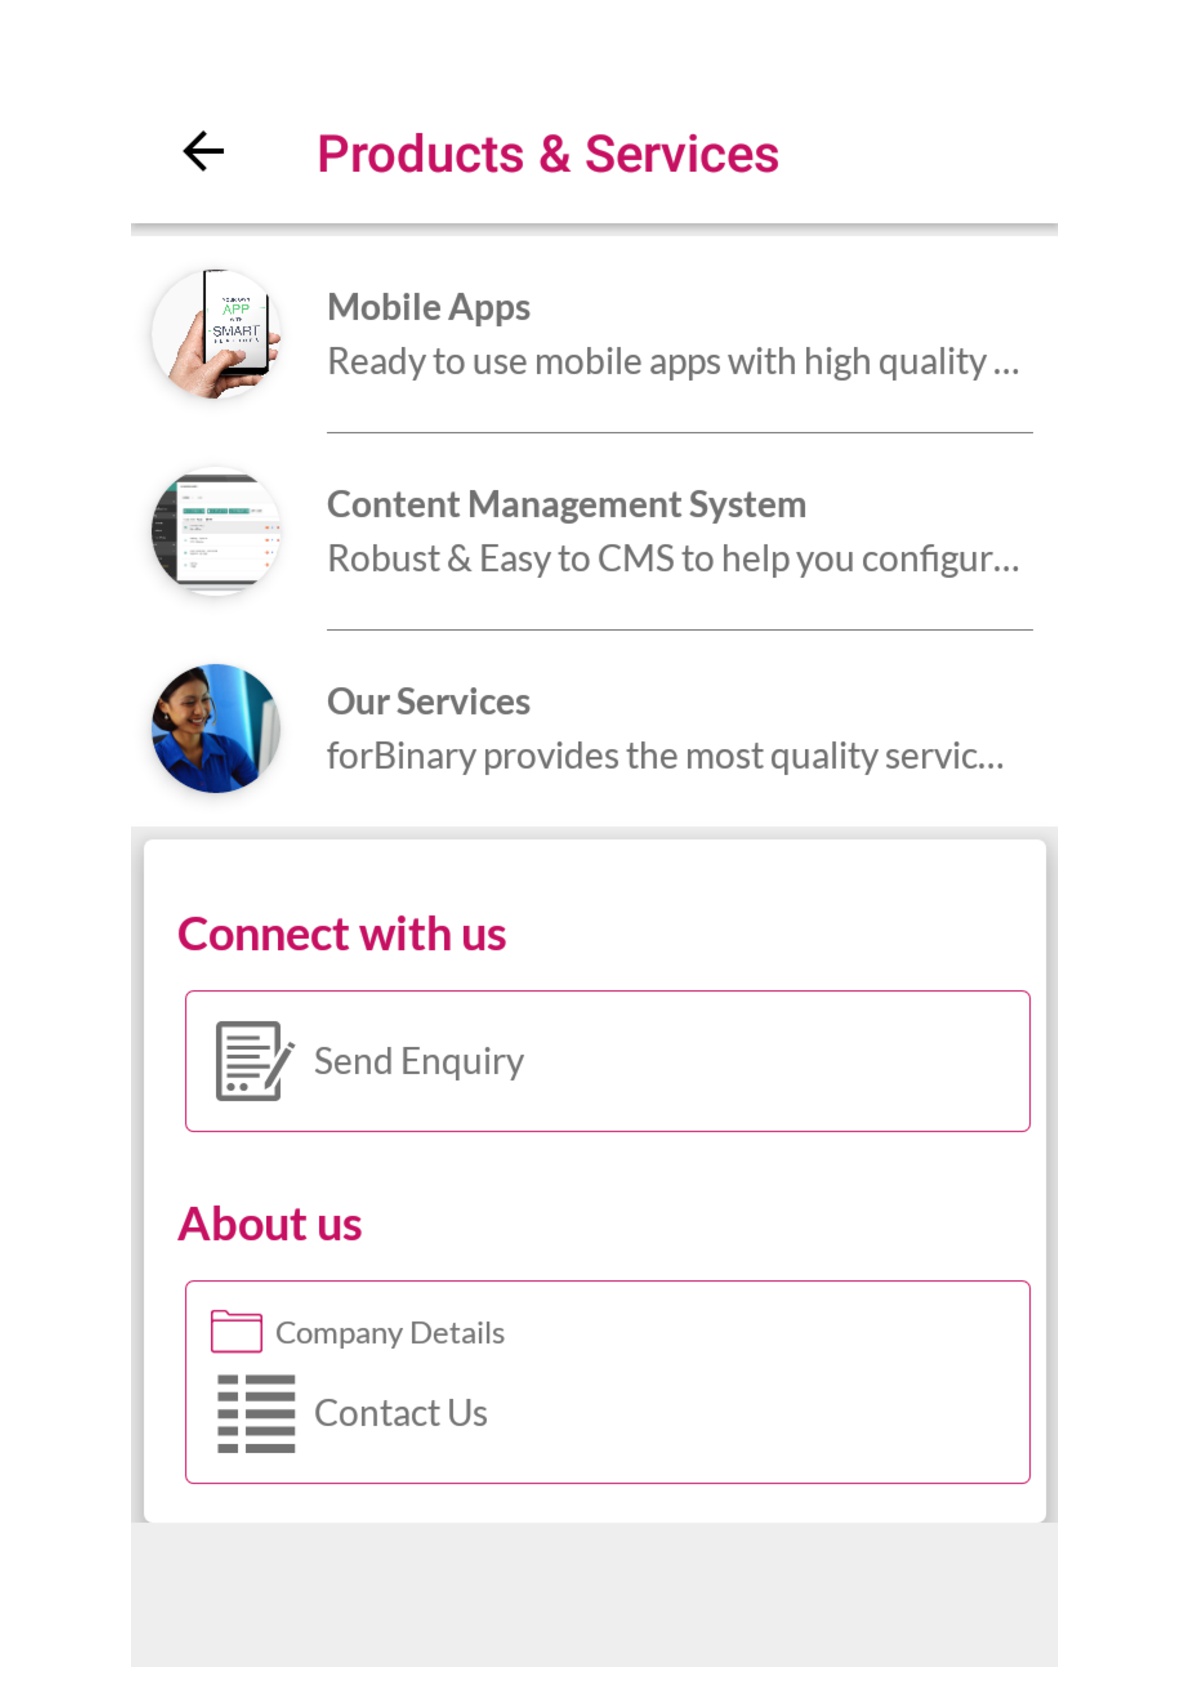
Detail Page
A page that is used to display any kind of content with text, images, docs, in-app linking (Link the page with any other file/folder/payment links/form within the app) and a cover image. A cover image appears on the top of the app page.
To create a new detail page:
Go to ‘Add New Detail Page’
Enter relevant information and see the preview of the page being created on the right side (there is a button to open the preview on the right side). The cover image appears at the top. Enter the title, description, choose or add a new icon and add attachments in the form of Images/PDFs/PPTs/Docs/XLS or interlinking or a web URL. If you have turned off visibility for the parent folder, you can set the visibility of this page.
Click on ‘Create’. The page will be created. You will then be asked if you want to make it live. You can choose to keep the it offline or make it live. If you choose to make it live, you will then have an option to send the app users who can see this a notification about the status change. You can choose to send the notification or not as per your convenience.

List Page
As the name suggests, this option lets you create lists and directories. You can create product lists with relevant images, contact directories, staff lists etc.
To create a new list page:
Go to ‘Add New List Page’
Enter relevant information and see the preview of the page being created on the right side (there is a button to open the preview on the right side). Enter the title, description, choose or add a new icon and choose if you want to interlink other app elements here.
Add list components: Here you have two options, you can either elements or phone numbers. Elements are a combo of image and title/description. Click on the Add Element button and enter the title, description and upload an image. The app user will be able to click on the list element and see the image and title/description fully. Click on save after adding the details. The element will appear in the list below and its preview can be seen on the right side. Phone numbers are just a combination of a title (label) and phone numbers. These are used for mostly creating directories. If you have turned off visibility for the parent folder, you can set the visibility of this page.
Click on 'Create' to finish making the page. You will then be asked if you want to make it live. You can choose to keep the it offline or make it live. If you choose to make it live, you will then have an option to send the app users who can see this a notification about the status change. You can choose to send the notification or not as per your convenience.
Web View Page
This feature enables you to load web pages within the app. You have to simply enter the name and Url of the web page that you want the user to go to. As soon as the app user clicks on a web view page he/she will be redirected to the URL within the app itself.
To create a new Web View Page,
Go to ‘Add Web View Page’
Enter the Title, Url of the desired page and choose or add the icon of the page. If you have turned off visibility for the parent folder, you can set the visibility of this page.
Click on ‘Create’. You will then be asked if you want to make it live. You can choose to keep the it offline or make it live. If you choose to make it live, you will then have an option to send the app users who can see this a notification about the status change. You can choose to send the notification or not as per your convenience.
Media Gallery Page
This type of page enables you to add multiple images and youtube video links. The images and video links added by you appear in the app in a grid form. The page can contain three different types of elements- the cover image which appears at the top, images which are present in the grid layout below it, and youtube video links whose thumbnails are shown in the grid.
To create a new Gallery Page:
Go to ‘Add Gallery page’
Enter the Title and choose or add the icon of the page. If you have turned off visibility for the parent folder, you can set the visibility of this page.
Add the elements on the page. You can the cover image, multiple images or youtube video links on the page. You can also add captions for each of the image.
You can interlink other app elements or attach files too.
Click on 'Create' to finish making the page. You will then be asked if you want to make it live. You can choose to keep the it offline or make it live. If you choose to make it live, you will then have an option to send the app users who can see this a notification about the status change. You can choose to send the notification or not as per your convenience.